What Is Plastic Injection Molding?
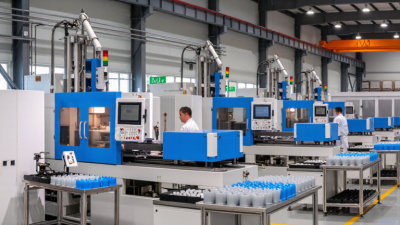
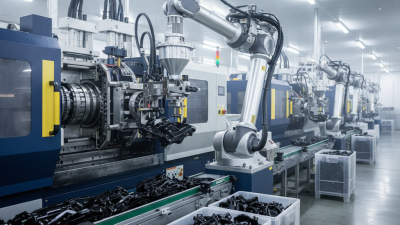
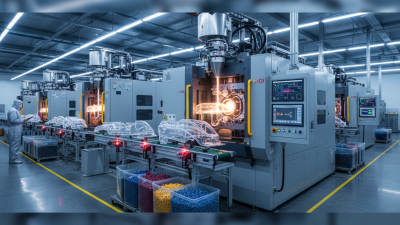
Plastic injection molding turns small plastic pellets into precise, repeatable parts. Pellets enter a heated barrel, melt, and are pushed into a closed steel mold. After cooling, the mold opens, and a component—perhaps a bottle cap, medical housing, or dashboard clip—ejects. The cycle looks simple. The engineering is not. Temperature, pressure, material choice, and mold geometry all affect the final part.
The market is substantial. Grand View Research estimated the global injection molding market at USD 284.25 billion in 2023 and projected a 4.8% compound annual growth rate from 2024 to 2030. This figure is an estimate, not a measure of every molded product. John Beaumont, an injection-molding educator and author, emphasizes in his technical work that material, mold design, and processing conditions must be considered together. That systems perspective matters: a carefully chosen resin cannot rescue a poorly designed gate, and a precise mold cannot erase every process variation.
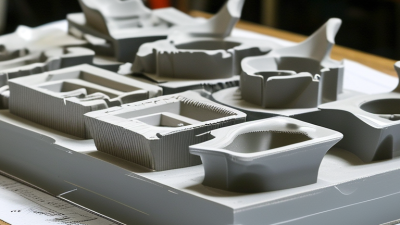
For manufacturers, plastic injection offers speed, consistent dimensions, and suitability for complex shapes at scale. It also demands upfront investment in tooling, plus careful attention to scrap, energy use, and part design. A thin wall may cool quickly. A thick corner may shrink or warp. Small details matter. The method is powerful, but not automatically economical or sustainable. Understanding how the process works—and where its limits appear—is the starting point for choosing it well.
What Plastic Injection Molding Is and How It Works
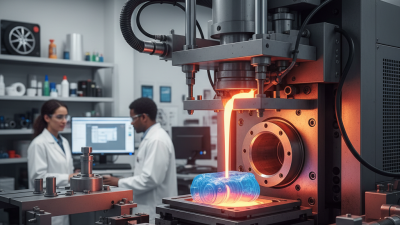
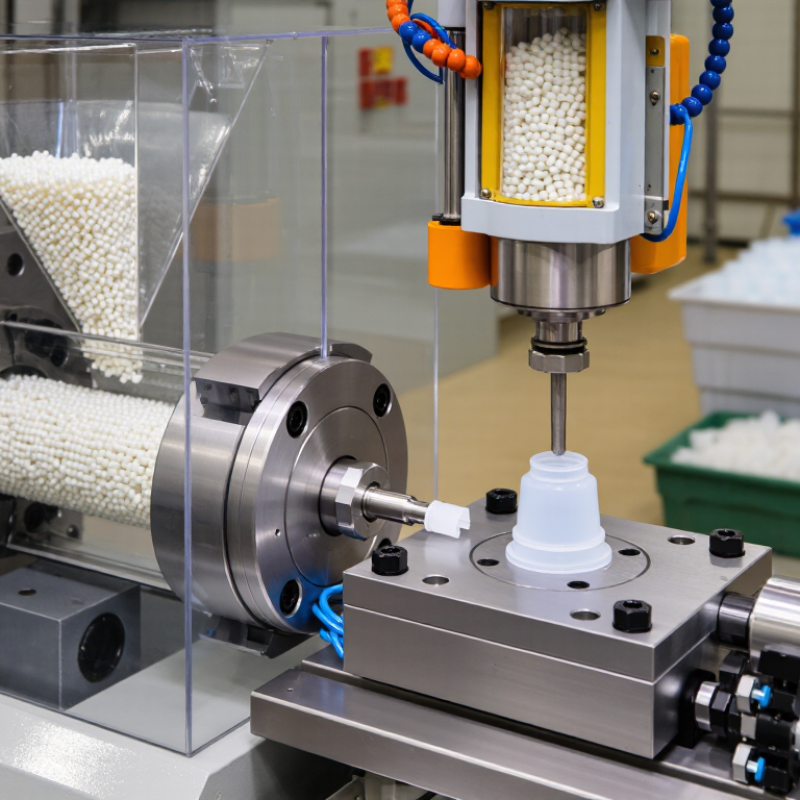
Plastic injection molding turns thermoplastic pellets into repeatable parts by forcing softened material into a shaped metal mold. Pellets enter a heated barrel, where a rotating screw melts and mixes them. The screw then pushes a measured amount through a nozzle into the closed mold. Pressure fills narrow ribs and corners, while vents allow trapped air to escape. It sounds simple.
Inside the mold, the plastic cools and stiffens against the cavity walls. The mold opens, ejector pins release the part, and the cycle begins again. Operators adjust melt temperature, injection speed, holding pressure, and cooling time to reduce sink marks, flash, and warping.
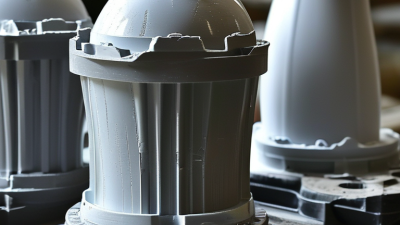
Results depend on material choice and part geometry, not machine settings alone. Uniform wall thickness and gradual transitions often help the melt flow evenly. Small details matter. A tiny gate or misplaced vent can change how a part fills.
Even a stable process needs inspection, since dimensions can drift as tools wear or material batches vary. There is no perfect setting for every part; trial runs reveal trade-offs between cycle time, appearance, and strength. That takes judgment.
The Main Parts of an Injection Molding Machine
What Is Plastic Injection Molding?
The Main Parts of an Injection Molding Machine
An injection molding machine has two main assemblies: the injection unit and the clamping unit. Plastic pellets enter through a hopper, then fall into a heated barrel. Inside, a rotating screw moves the pellets forward, mixing and melting them through heat and friction. The screw also pushes the molten plastic through a nozzle. Not quite a simple conveyor: its speed, pressure, and position affect how consistently the material fills the mold.
The clamping unit holds the mold shut while plastic is injected. One mold half is attached to a fixed platen; the other moves with the clamping mechanism. Strong, even force helps prevent the mold from opening under injection pressure. Inside the mold, shaped cavities form the part, while cooling channels carry heat away. Ejector pins then push the cooled part free. Small details matter.
Controls coordinate barrel temperatures, screw movement, injection pressure, and cycle timing. Operators monitor these settings and inspect sample parts for short fills, flash, or uneven surfaces. A machine diagram makes the process look tidy, but real production can be less predictable: material behavior and mold temperature may shift. Adjustments need care, and one setting rarely explains every defect.
The Stages of the Injection Molding Process
What Is Plastic Injection Molding?
The Stages of the Injection Molding Process
Injection molding turns plastic pellets into repeatable parts through a controlled, cyclical process. PlasticsEurope’s Plastics—The Fast Facts 2024 reports global plastics production of 413.8 million tonnes in 2023, illustrating the scale of material processing behind everyday products. The figure covers plastics broadly, not injection molding alone.
The cycle starts when the mold closes and clamps firmly. A heated barrel melts the pellets, and a rotating screw pushes the melt into the mold cavity. Pressure then packs material into the cavity as the part cools and solidifies. Cooling often takes the longest, though the exact time depends on the resin, wall thickness, and mold design. The mold opens, ejector pins release the part, and an operator or automated system checks for defects. Then the cycle repeats. Small details matter. A slightly uneven wall can cause warping; a poorly placed gate may leave a visible mark. Process settings usually need testing, and the first trial is not always right.
Tips: Keep wall thickness as consistent as possible, and check that the part can release cleanly from the mold. Record temperature, pressure, and cycle time during trials. These notes help teams spot changes, though they do not replace careful inspection.
What Is Plastic Injection Molding? - The Stages of the Injection Molding Process
| Stage |
What Happens |
Typical Process Controls |
Purpose or Result |
| 1. Material Preparation |
Plastic resin, usually supplied as pellets, is selected and fed into the molding machine. Some moisture-sensitive resins require drying before processing. |
Resin type, material handling, and drying conditions specified for the resin |
Prepares consistent material for melting; drying helps limit moisture-related defects when required. |
| 2. Plasticizing |
Pellets enter a heated barrel, where heat and screw rotation soften and mix the material into a molten plastic melt. |
Barrel temperature profile, screw speed, and back pressure |
Produces a reasonably uniform melt ready to be injected. |
| 3. Mold Clamping |
The two mold halves close and are held together by the clamping unit. |
Clamp force, mold alignment, and mold protection settings |
Keeps the mold closed against the pressure generated during filling and packing. |
| 4. Injection and Filling |
The screw moves forward and pushes molten plastic through the nozzle and runner system into the mold cavity. |
Injection speed, pressure limits, and fill time |
Fills the cavity with the required amount of molten material. |
| 5. Packing and Holding |
After the cavity is filled, pressure is maintained briefly to push additional material into the cavity as the plastic begins to shrink. |
Holding pressure, holding time, and transfer point from filling |
Helps compensate for shrinkage and reduce defects such as sink marks or incomplete parts. |
| 6. Cooling |
The plastic cools and solidifies in the mold. Cooling channels commonly circulate a temperature-controlled fluid through the mold. |
Cooling time, mold temperature, and coolant flow |
Allows the part to become sufficiently rigid for ejection; cooling often accounts for a substantial portion of cycle time. |
| 7. Mold Opening and Ejection |
The clamp opens the mold, and ejector pins or another ejection mechanism release the solidified part. |
Opening sequence, ejection stroke, and ejection speed |
Removes the molded part while helping avoid damage or distortion. |
| 8. Finishing and Inspection |
Depending on the part and tooling, runners or flash may be removed. The part can then be checked for dimensions, appearance, and other specified requirements. |
Trimming method, inspection criteria, and sampling plan |
Prepares the part for the next production step and verifies that it meets requirements. |
Process settings vary with the resin, part geometry, mold design, and production requirements.
Common Materials Used in Injection Molding
What Is Plastic Injection Molding?
Common Materials Used in Injection Molding
Material choice affects a molded part’s strength, flexibility, surface finish, and cost. Polypropylene is lightweight and resists many chemicals, making it common in living hinges, storage containers, and appliance parts. It can flex repeatedly, though thin sections may feel less rigid. Small details matter.
ABS offers a balance of impact resistance, stiffness, and a smooth finish. It is often used for housings and consumer-product components. Polycarbonate is clearer and tougher, but processing conditions need careful control. Moisture can cause surface defects, so drying it before molding is important. Nylon suits gears and other wear-prone parts because it is strong and abrasion-resistant. However, it absorbs moisture, which can change its dimensions and performance.
Polyethylene is valued for chemical resistance and flexibility, while acetal is chosen for precise, low-friction moving components. For parts needing a soft grip or seal, thermoplastic elastomers can provide rubber-like flexibility. There is no universal best resin. A material that works well in a dry indoor enclosure may perform poorly outdoors or near heat. Designers should consider operating temperature, expected loads, exposure to chemicals, and whether the part needs to snap or bend. Testing a few molded samples is sensible; actual results can differ from a datasheet.
Typical Applications and Key Process Considerations
What Is Plastic Injection Molding?
Typical Applications and Key Process Considerations
Plastic injection molding makes parts by injecting molten plastic into a shaped metal tool. After cooling, the part is ejected, and the cycle begins again. This method suits components made in large, consistent quantities, such as bottle caps, appliance housings, medical device enclosures, and automotive clips. It can produce fine details, but the mold requires careful design and a significant upfront investment. Small production runs may not justify that cost.
Material choice affects strength, flexibility, heat resistance, and shrinkage. Part geometry matters too: uneven wall thickness can cause sink marks, warping, or longer cooling times. Engineers often add draft angles so parts release cleanly, and place gates where flow marks will be less visible. Mold temperature and injection pressure need adjustment for each material and part. Settings are not universal. Even a sensible first trial can reveal an unexpected defect.
Tips: Check wall thickness early, and review likely gate and ejector locations with the mold designer. Ask for sample parts before approving full production. Look closely at edges, thin ribs, and visible surfaces under ordinary lighting. A small flaw may be easy to miss on a drawing, yet obvious in the finished part. Keep a record of trial settings; it helps, though it will not replace testing after a material or tool change.